
DIY at home relies on a set of reproducible technical gestures. Mastering the preparation of a job site, choosing the right tools, and managing regulatory constraints makes the difference between a successful project and a mediocre result. This article details the concrete points that allow you to successfully complete your work without improvisation.
Construction Waste: A Constraint to Integrate from the Preparation Stage
Most DIY guides talk about tools and materials but overlook a topic that conditions the project’s progress: the management of hazardous waste starts before the first drill bit is used. Paints, solvents, aerosols, and chemicals should not be disposed of with household waste, down the drains, or in recycling bins.
ADEME classifies paint cans among the waste that should not go in the standard recycling bin. The best practice is to keep these products in their original packaging to facilitate identification when dropping them off at a waste disposal site.
Specifically, before starting a painting or stripping job, plan a storage space dedicated to chemical residues. A simple cardboard box lined with a plastic bag, placed away from the work area, is sufficient to accumulate used containers.
Also, check the local guidelines of your municipality: collection points and hours vary. The site https://bricoletout.fr/ gathers guides and advice for each type of project, including the management of specific waste.
Drill, Saw, Level: Adapting Tools to the DIY Project
A common mistake made by beginner DIYers is to buy low-quality versatile tools instead of targeting the tool suited for a specific project. A cordless drill-screwdriver is suitable for assembling furniture or fixing a shelf, but it cannot replace a hammer drill for drilling into concrete or brick.
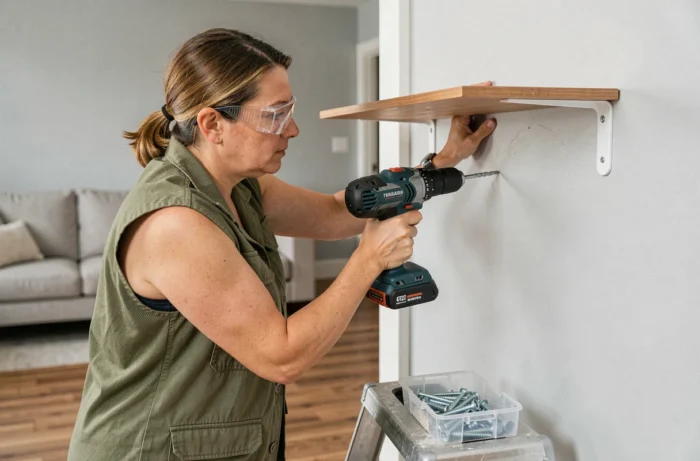
The choice of saw follows the same logic. A hand saw is sufficient for straight cuts in softwood. For melamine panels or repeated cuts, a jigsaw offers a notable gain in time and precision.
The bubble level remains the most underestimated tool in home DIY. Hanging a frame, installing a shelf, aligning kitchen furniture: each operation requires a check of horizontal alignment. A thirty-centimeter level covers most common uses.
- Cordless drill-screwdriver for assembly and general screwing (wood, drywall, particleboard).
- Hammer drill for hard materials (concrete, solid brick, stone), with bits suitable for the substrate.
- Jigsaw for curved cuts or composite materials, ensuring the blade matches the material being worked on.
- Bubble level and tape measure, to be kept systematically within reach on the job site.
Electrical Standard NF C 15-100: What the DIYer Needs to Check
Intervening on an electrical installation, even to add a socket or move a switch, requires compliance with the NF C 15-100 standard. New or modified work must comply with the applicable rules for their scope, even if the existing installation dates back several decades.
The change in standards does not automatically render an old installation illegal. However, any modification (adding a circuit, replacing a panel) must comply with the current requirements for the affected part.
For a DIYer wishing to install a light fixture or replace a mechanism, the basic rule is simple: turn off the main circuit breaker before any intervention, check for the absence of voltage with a tester, and adhere to the cable sizes specified by the standard. A voltage tester costs a few euros and prevents serious accidents.
When to Call a Professional for Electrical Work
Creating a new circuit from the panel, bringing a bathroom up to code, or installing a sub-panel goes beyond the scope of regular DIY. These interventions require precise knowledge of differential protections and regulatory safety distances.
Measuring and Marking Techniques for Successful Finishes
The quality of a DIY project often hinges on the first five minutes, at the marking stage. Measure twice and cut once remains the most reliable method to avoid material waste.
To mark a right angle without a square, the 3-4-5 triangle technique works on all surfaces. Measure three units on one side, four on the other, and check that the diagonal measures five units. This method allows for precise tiling, wall partitioning, or checking the squareness of furniture.
On vertical surfaces (walls, partitions), a plumb line complements the bubble level. It provides an absolute vertical reference, regardless of the wall’s irregularities. Fixing a plumb line at the top of the wall before marking installation points prevents cumulative offsets over several meters.
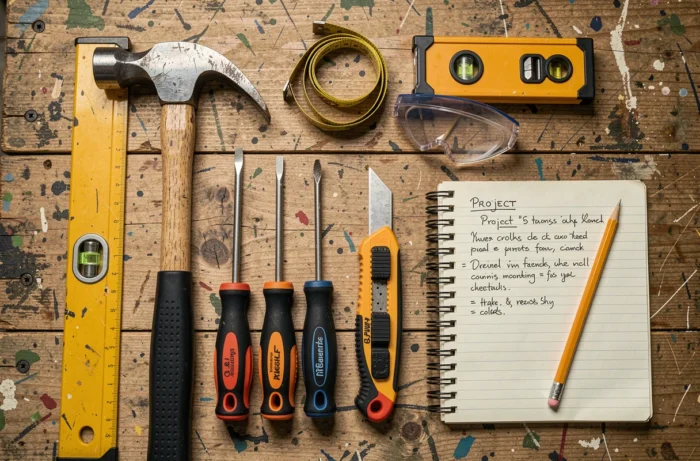
- Carpenter’s pencil for marking on wood (flat lead, visible and fine line).
- Chalk line for straight lines over long distances (walls, floors).
- Metal ruler for precise measurements on small pieces, more reliable than a flexible tape measure.
Site Safety: Protections Not to Be Overlooked
Safety glasses, appropriate gloves, and earplugs are the minimum when doing DIY work involving a saw, drill, or chemical product. Material projections represent the most common risk in home DIY.
For sanding or cutting work, an FFP2 dust mask protects the respiratory tract from fine particles. Dust from treated wood or old plaster may contain irritating substances that only manifest after prolonged exposure.
A final point often overlooked: the stability of the work area. An unstable workbench or a ladder placed on uneven ground multiplies the risks of tools or parts falling. Checking the stability of the work surface before starting is part of the job site preparation, just like sorting waste or choosing tools.